 Latest images
The Mask - Work Through
Page 1 of 1

The Mask - Work Through
![]() by Lady Ardor Mon Oct 17, 2016 11:40 pm
by Lady Ardor Mon Oct 17, 2016 11:40 pm
I kind of did this on another forum but I've decided to recreate it a little more indepth here to show you all how I created my horned mask. Now, I'll note that I've updated the horns since I took these early photos, which you'll notice at the end of this post. I started my first Sith back in 2008, and has gone through 2 incarnations (looks). The newest is what I'll be sticking with and upgrading slowly but surely! I hope this thread is informational in some manner 
First WIP post: http://www.fx-sabers.com/forum/index.php?topic=14736.msg231846#msg231846
Current Sith WIP thread was eaten when someone destroyed the TDA forum that was on enjin...
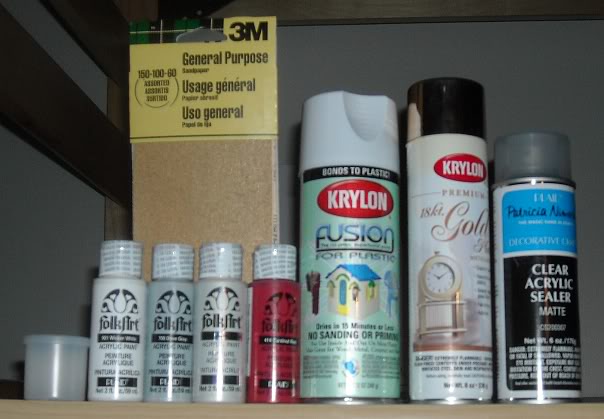
Materials/tools I used:
Nihilus mask sculpted by Brian Petty
Sculpy (grey, off creamy white, purchased at Michael's)
oven and cookie sheet
Aleene's Tacky Adhesive (white crafters glue, purchased at Walmart)
Folk Art acrylic paint (cheap and purchased at Walmart) & Utrecht/other acrylic paints (the expensive stuff. originally purchased for college art courses)
-titanium white
-pearl
-3 different red/crimson paints
-2 blue/purple paints
-mars black
Krylon 18k Gold paint (aerosol can, purchased at Michael's)
Krylon white specifically meant for plastics
Balaclava hood
Hot glue/gun
E-6000 adhesive glue
Elmer's Ultimate glue
Flat bottom oval black onyx cabochon
cheap paint brushes (walmart, less than $3 for a package of various brushes)
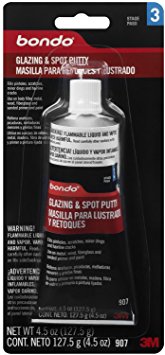
Bondo
Sand paper
Plastic wrap
Chewing gum

2008 - The initial design:

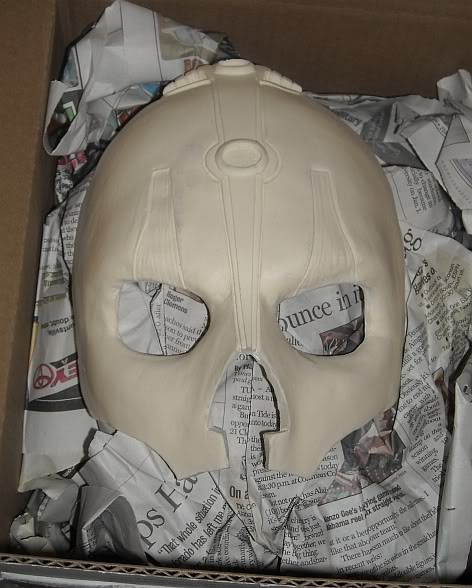
I began the hunt and found the Revanchist website (no longer exists), that had images of costumes and links to buy the pieces to make them. I was looking for a Nihilus mask. Found the best one I ever saw online (even to this day imho). When it arrived I was ecstatic! Yes, it is resin, so it's heavy but also I was able to clean up a few edges just using an exacto knife as sanding left scratches. As you can see, the mask is not exact but it works perfect for me.
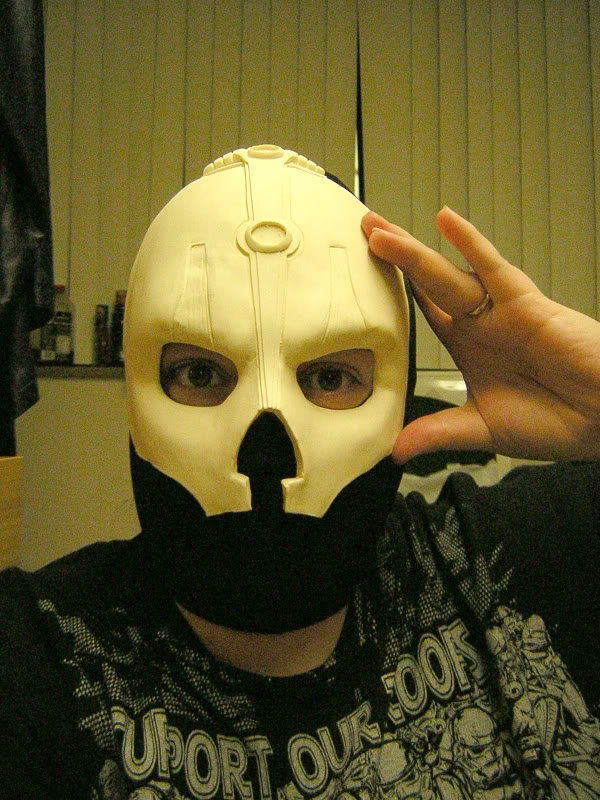
It fits my face almost perfectly! With balaclava of course ;-) (ah dorm life...)
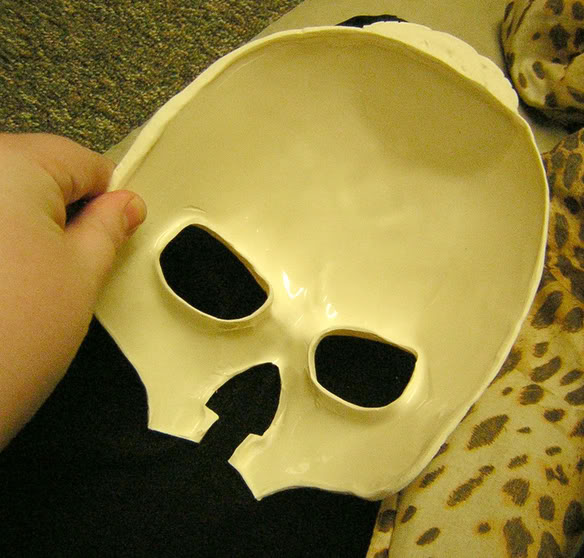
Mask underside
Test fitting horns. Don't laugh. This is when I used chewing gum I had been chewing to temporarily attach the horns to the mask. Hey! It worked! lol
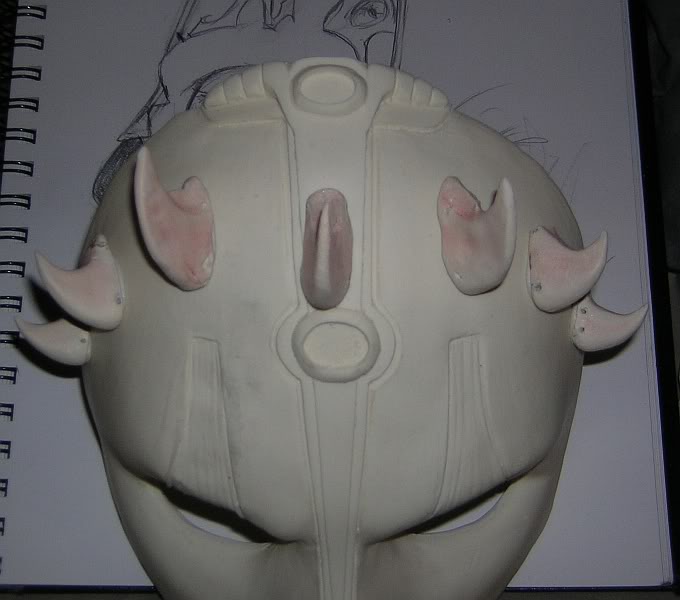
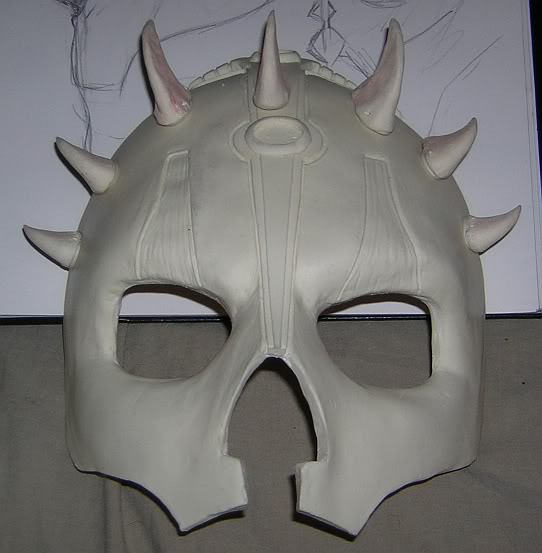

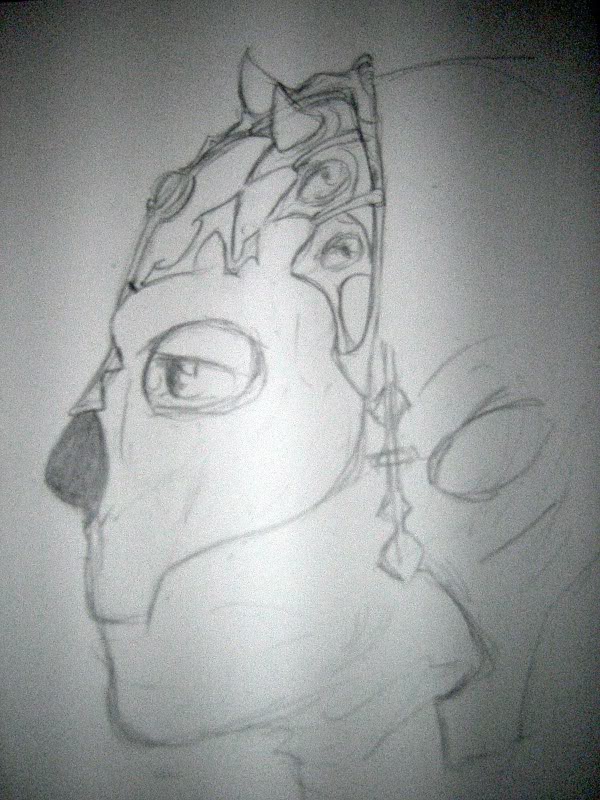
And the build up begins. Before anything like painting, I created the crown piece and created indents where the horns would be placed, creating it directly on the mask itself, given the mask is already smooth and made of resin (which is basically plastic). Also, I am a serious Darth Maul fan. Even when I wore face makeup for my first home made Sith, I wore this exact nose design. ***

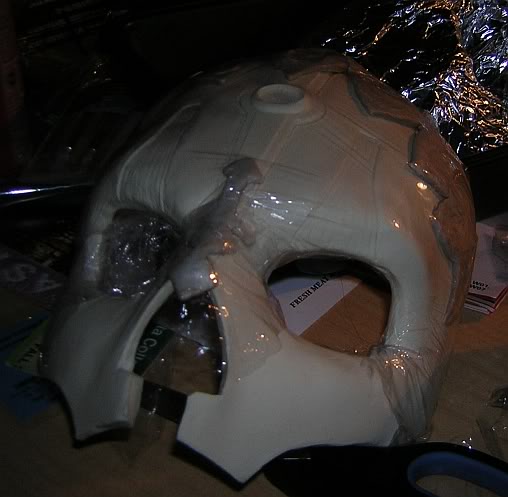
Looks silly but it worked! I used plastic wrap to form the sculpy better to the shape of the mask. I let it sit for a bit to harden a little before removing the sculpted pieces
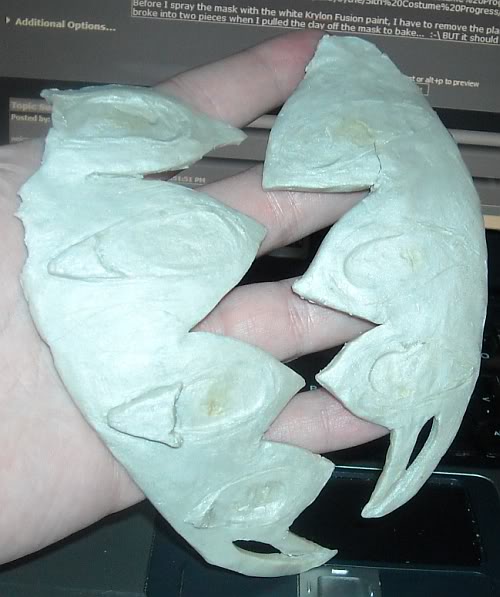
Removed from mask. You'll notice pieces I've added. That's the place holder and part of the "ring" that I created for the horns.
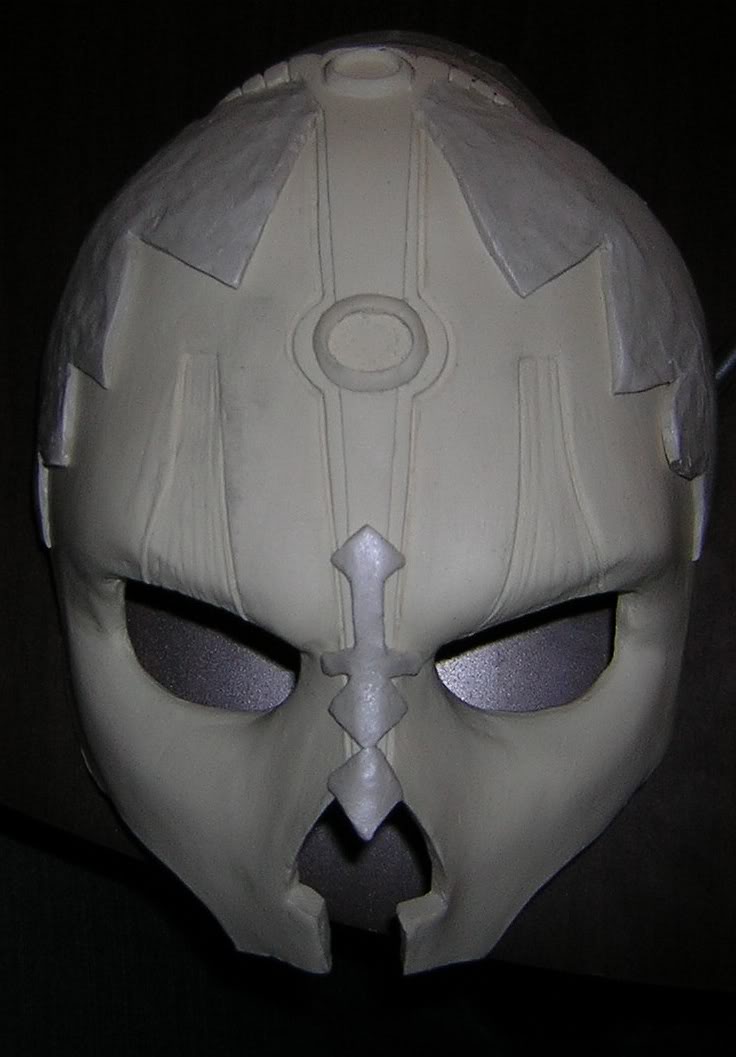
Baked! Coolest thing about Sculpy is that you can actually bake it in your oven! Be warned though, the sculpy will be HOT and still flexible. Also, after it's baked, it can become brittle, so handle with some care. And once everything is cooled off, the painting begins! I began first by spray painting the krylon white (for plastic) over the whole mask. The unfortunate thing is, this paint didn't like my mask...or my mask didn't like the paint as it did NOT stick very well, even when I lightly sanded the mask to the paint would adhere better. Becareful though, that paint eats styrofoam! I even went over it with titantium white acrylic from the tube and folk art bottle. It helped some. You can also see that I am keeping with the Nihilus red eye/forehead designs and color, and added the gold to the detail running down the center. I painted the Maul nose design black, and gave the crown a base color of grey.


Attaching the crown. I've gone ahead and already attached the horns, painted the rings in 18k gold paint. Again, I use plastic wrap to hold down the sculpted pieces while the crating glue dries.

All together!
Now to add the details and do some clean up. Leaving it flat white was boring and rather unoriginal. I didn't want to copy Maul's tattoos either as it would cover up a bit of the mask, but thought to keep a tribal design look to it.
Smexy! I had to undo the seam on the back of the balaclava to make room for my hair (usually in a pony tail or braid, and attached strings so I can close it securely again round my neck. I will say though, my nose gets squished and breathing can get really hot but it looks good! I attach the hood with hot glue around the mask's eyes, leaving me able to remove the hood if need be and reattach with hot glue again.

Not pictured is how I attached the 2 lengths of chiffon to the mask. I had black chiffon floating around from an old project I had, and being perfect for this - and to hide my hair as the then version of my Sith didn't have a hood. Gotta hide my 3 feet of hair somehow lol I attached one long square directly to "crown" of the mask in such a way that the fabric would appear to flow from the mask in a kind of poof to hide where I attached it with hot glue. I also attached the second more decorative piece to either side of my mask near the ears, attaching with hot glue in the same fashion as the other piece of fabric to give it that folded, hidden attachment look. I need to take a few pics sometime to show how that turned out...
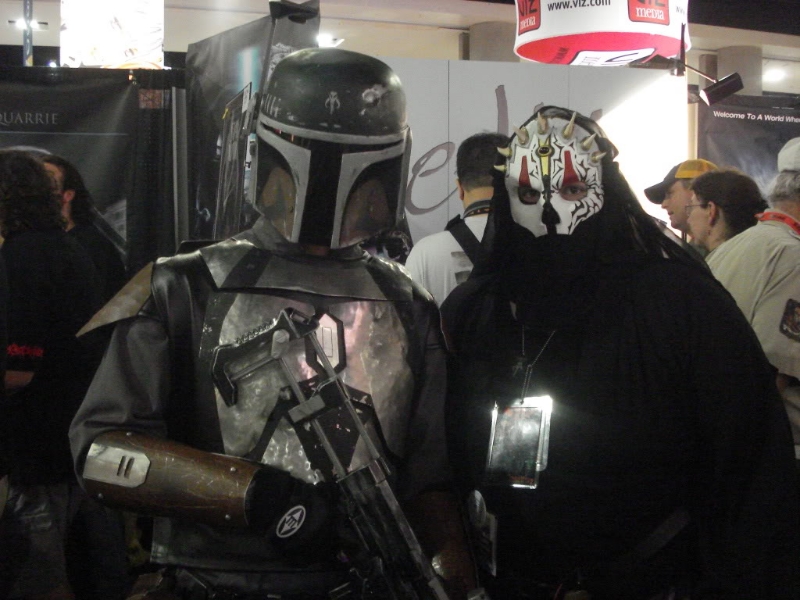
My first ever troop (unofficially as I was not part of any club). I got to hang out with the Mando Mercs at SDCC 09, which was really cool - even in my Sith costume :-D Pictured is myself, and my good buddy, Jaden Tracyn.
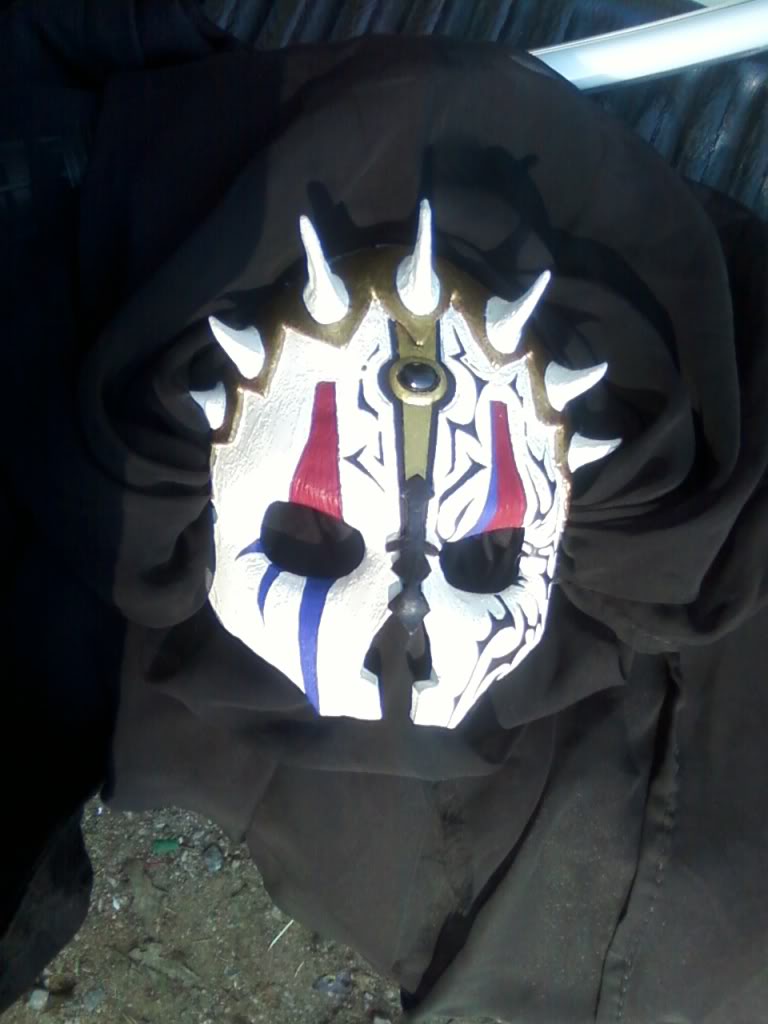
The evolution. I felt like I needed to make the mask more...sleek. I popped off the crown, cleaned it up as well as the horns. I removed the rings also as it never really turned out how I originally wanted it. After everything was cleaned up, I reattached the crown but this time used e-6000, reattached the onyx cabachon with e-6000 (not gonna pop off now! lol), and once dry I reattached the horns, then proceeded to use bondo to smooth out everything - especially the areas around the horns. After some good clean sanding, I once more painted over the crown but in black, painted the horns titanium white, then painted 18k paint all over the crown, only going over areas in white to clean up any gold errors. At some point, I felt the mask needed more...detail. I added a reverse slash of color but if a blue-purplish color, and added a line along the upper red slash above the left eye. Me think it looks loads better as it is now
SW CVII - Lady Ardor as of today!


Thanks to all who sat through this and read everything! lol I hope this helps some
Dawn aka Lady Ardor
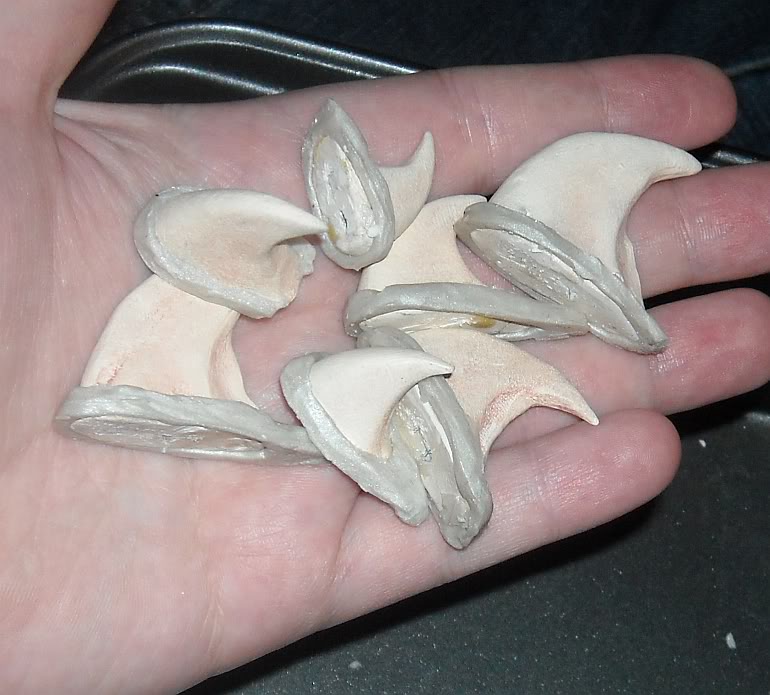
***Note: I made these horns several years previous in an attempt to create a headpiece with Zabrak horns but it failed. I finally found a perfect use for them here :-D To create them, I just made balls of sculpy of 3 different sizes and used my fingers to create the curved tapering horn and flat bottom.
First WIP post: http://www.fx-sabers.com/forum/index.php?topic=14736.msg231846#msg231846
Current Sith WIP thread was eaten when someone destroyed the TDA forum that was on enjin...
Materials/tools I used:
Nihilus mask sculpted by Brian Petty
Sculpy (grey, off creamy white, purchased at Michael's)
oven and cookie sheet
Aleene's Tacky Adhesive (white crafters glue, purchased at Walmart)
Folk Art acrylic paint (cheap and purchased at Walmart) & Utrecht/other acrylic paints (the expensive stuff. originally purchased for college art courses)
-titanium white
-pearl
-3 different red/crimson paints
-2 blue/purple paints
-mars black
Krylon 18k Gold paint (aerosol can, purchased at Michael's)
Krylon white specifically meant for plastics
Balaclava hood
Hot glue/gun
E-6000 adhesive glue
Elmer's Ultimate glue
Flat bottom oval black onyx cabochon
cheap paint brushes (walmart, less than $3 for a package of various brushes)
Bondo
Sand paper
Plastic wrap
Chewing gum
2008 - The initial design:
I began the hunt and found the Revanchist website (no longer exists), that had images of costumes and links to buy the pieces to make them. I was looking for a Nihilus mask. Found the best one I ever saw online (even to this day imho). When it arrived I was ecstatic! Yes, it is resin, so it's heavy but also I was able to clean up a few edges just using an exacto knife as sanding left scratches. As you can see, the mask is not exact but it works perfect for me.
It fits my face almost perfectly! With balaclava of course ;-) (ah dorm life...)
Mask underside
Test fitting horns. Don't laugh. This is when I used chewing gum I had been chewing to temporarily attach the horns to the mask. Hey! It worked! lol
And the build up begins. Before anything like painting, I created the crown piece and created indents where the horns would be placed, creating it directly on the mask itself, given the mask is already smooth and made of resin (which is basically plastic). Also, I am a serious Darth Maul fan. Even when I wore face makeup for my first home made Sith, I wore this exact nose design. ***
Looks silly but it worked! I used plastic wrap to form the sculpy better to the shape of the mask. I let it sit for a bit to harden a little before removing the sculpted pieces
Removed from mask. You'll notice pieces I've added. That's the place holder and part of the "ring" that I created for the horns.
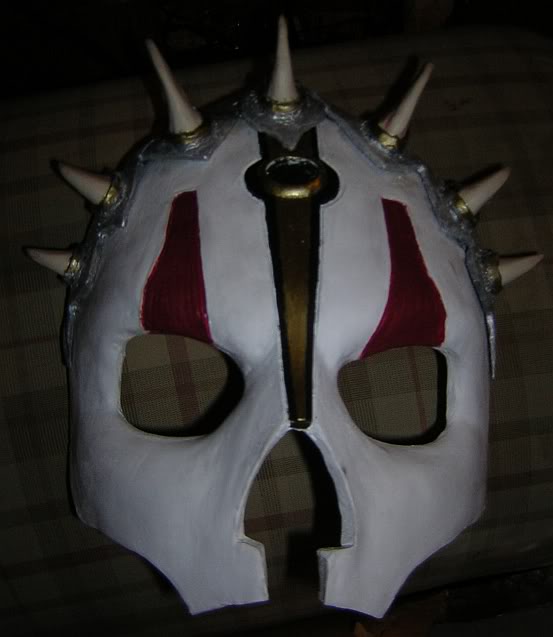
Baked! Coolest thing about Sculpy is that you can actually bake it in your oven! Be warned though, the sculpy will be HOT and still flexible. Also, after it's baked, it can become brittle, so handle with some care. And once everything is cooled off, the painting begins! I began first by spray painting the krylon white (for plastic) over the whole mask. The unfortunate thing is, this paint didn't like my mask...or my mask didn't like the paint as it did NOT stick very well, even when I lightly sanded the mask to the paint would adhere better. Becareful though, that paint eats styrofoam! I even went over it with titantium white acrylic from the tube and folk art bottle. It helped some. You can also see that I am keeping with the Nihilus red eye/forehead designs and color, and added the gold to the detail running down the center. I painted the Maul nose design black, and gave the crown a base color of grey.
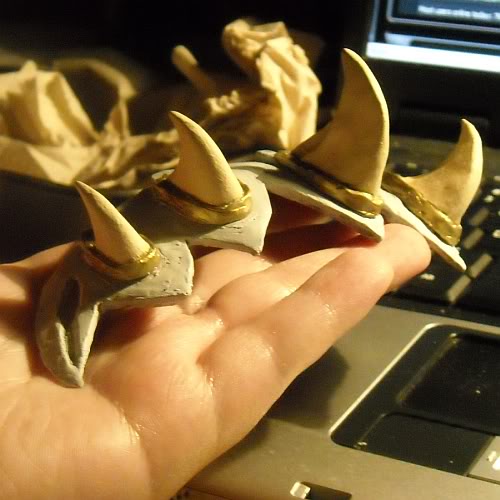
Attaching the crown. I've gone ahead and already attached the horns, painted the rings in 18k gold paint. Again, I use plastic wrap to hold down the sculpted pieces while the crating glue dries.
All together!
Now to add the details and do some clean up. Leaving it flat white was boring and rather unoriginal. I didn't want to copy Maul's tattoos either as it would cover up a bit of the mask, but thought to keep a tribal design look to it.
Smexy! I had to undo the seam on the back of the balaclava to make room for my hair (usually in a pony tail or braid, and attached strings so I can close it securely again round my neck. I will say though, my nose gets squished and breathing can get really hot but it looks good! I attach the hood with hot glue around the mask's eyes, leaving me able to remove the hood if need be and reattach with hot glue again.
Not pictured is how I attached the 2 lengths of chiffon to the mask. I had black chiffon floating around from an old project I had, and being perfect for this - and to hide my hair as the then version of my Sith didn't have a hood. Gotta hide my 3 feet of hair somehow lol I attached one long square directly to "crown" of the mask in such a way that the fabric would appear to flow from the mask in a kind of poof to hide where I attached it with hot glue. I also attached the second more decorative piece to either side of my mask near the ears, attaching with hot glue in the same fashion as the other piece of fabric to give it that folded, hidden attachment look. I need to take a few pics sometime to show how that turned out...
My first ever troop (unofficially as I was not part of any club). I got to hang out with the Mando Mercs at SDCC 09, which was really cool - even in my Sith costume :-D Pictured is myself, and my good buddy, Jaden Tracyn.
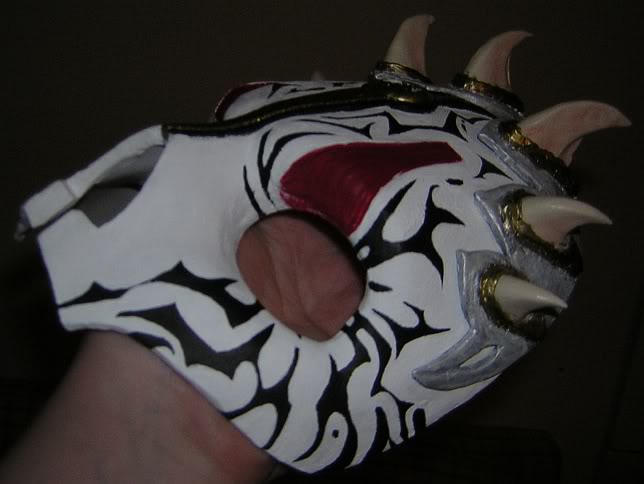
The evolution. I felt like I needed to make the mask more...sleek. I popped off the crown, cleaned it up as well as the horns. I removed the rings also as it never really turned out how I originally wanted it. After everything was cleaned up, I reattached the crown but this time used e-6000, reattached the onyx cabachon with e-6000 (not gonna pop off now! lol), and once dry I reattached the horns, then proceeded to use bondo to smooth out everything - especially the areas around the horns. After some good clean sanding, I once more painted over the crown but in black, painted the horns titanium white, then painted 18k paint all over the crown, only going over areas in white to clean up any gold errors. At some point, I felt the mask needed more...detail. I added a reverse slash of color but if a blue-purplish color, and added a line along the upper red slash above the left eye. Me think it looks loads better as it is now
SW CVII - Lady Ardor as of today!
Thanks to all who sat through this and read everything! lol I hope this helps some
Dawn aka Lady Ardor
***Note: I made these horns several years previous in an attempt to create a headpiece with Zabrak horns but it failed. I finally found a perfect use for them here :-D To create them, I just made balls of sculpy of 3 different sizes and used my fingers to create the curved tapering horn and flat bottom.

Lady Ardor- Member, The Order of The Hand

- Posts : 30
Join date : 2016-07-17
Age : 44
Location : Endor
Page 1 of 1
Permissions in this forum:
You cannot reply to topics in this forum|
|
|